Lesson Plan #3
Lesson Plan: 3D Paper Sculpture – City Skyline Project (Grade k-8)
Grade Levels: 3rd–8th Grade
Time: 60 minutes
Teacher: Ms. B 😊
Lesson 3
Lesson Objectives
By the end of this lesson, students will be able to:
1. Identify and apply the element of Form by transforming 2D strips of paper into 3D rolled sculptures.
2. Work collaboratively to create a large-scale mural that emphasizes teamwork and creativity.
3. Reflect on artistic choices, process, and collaboration using guided critical thinking questions.
Standards Alignment
Visual Arts Standards:
- VA:Cr2.1.6a – Demonstrate openness in trying new ideas, materials, methods.
- VA:Pr4.1.5a – Analyze how exhibitions influence ideas, beliefs, and experiences.
- VA:Re7.2.8a – Compare how individual experiences shape responses to art.
Materials
• Construction paper (multiple colors)
• Scissors (if needed: for ripping/cutting strips)
• Pencils (used as rolling tools)
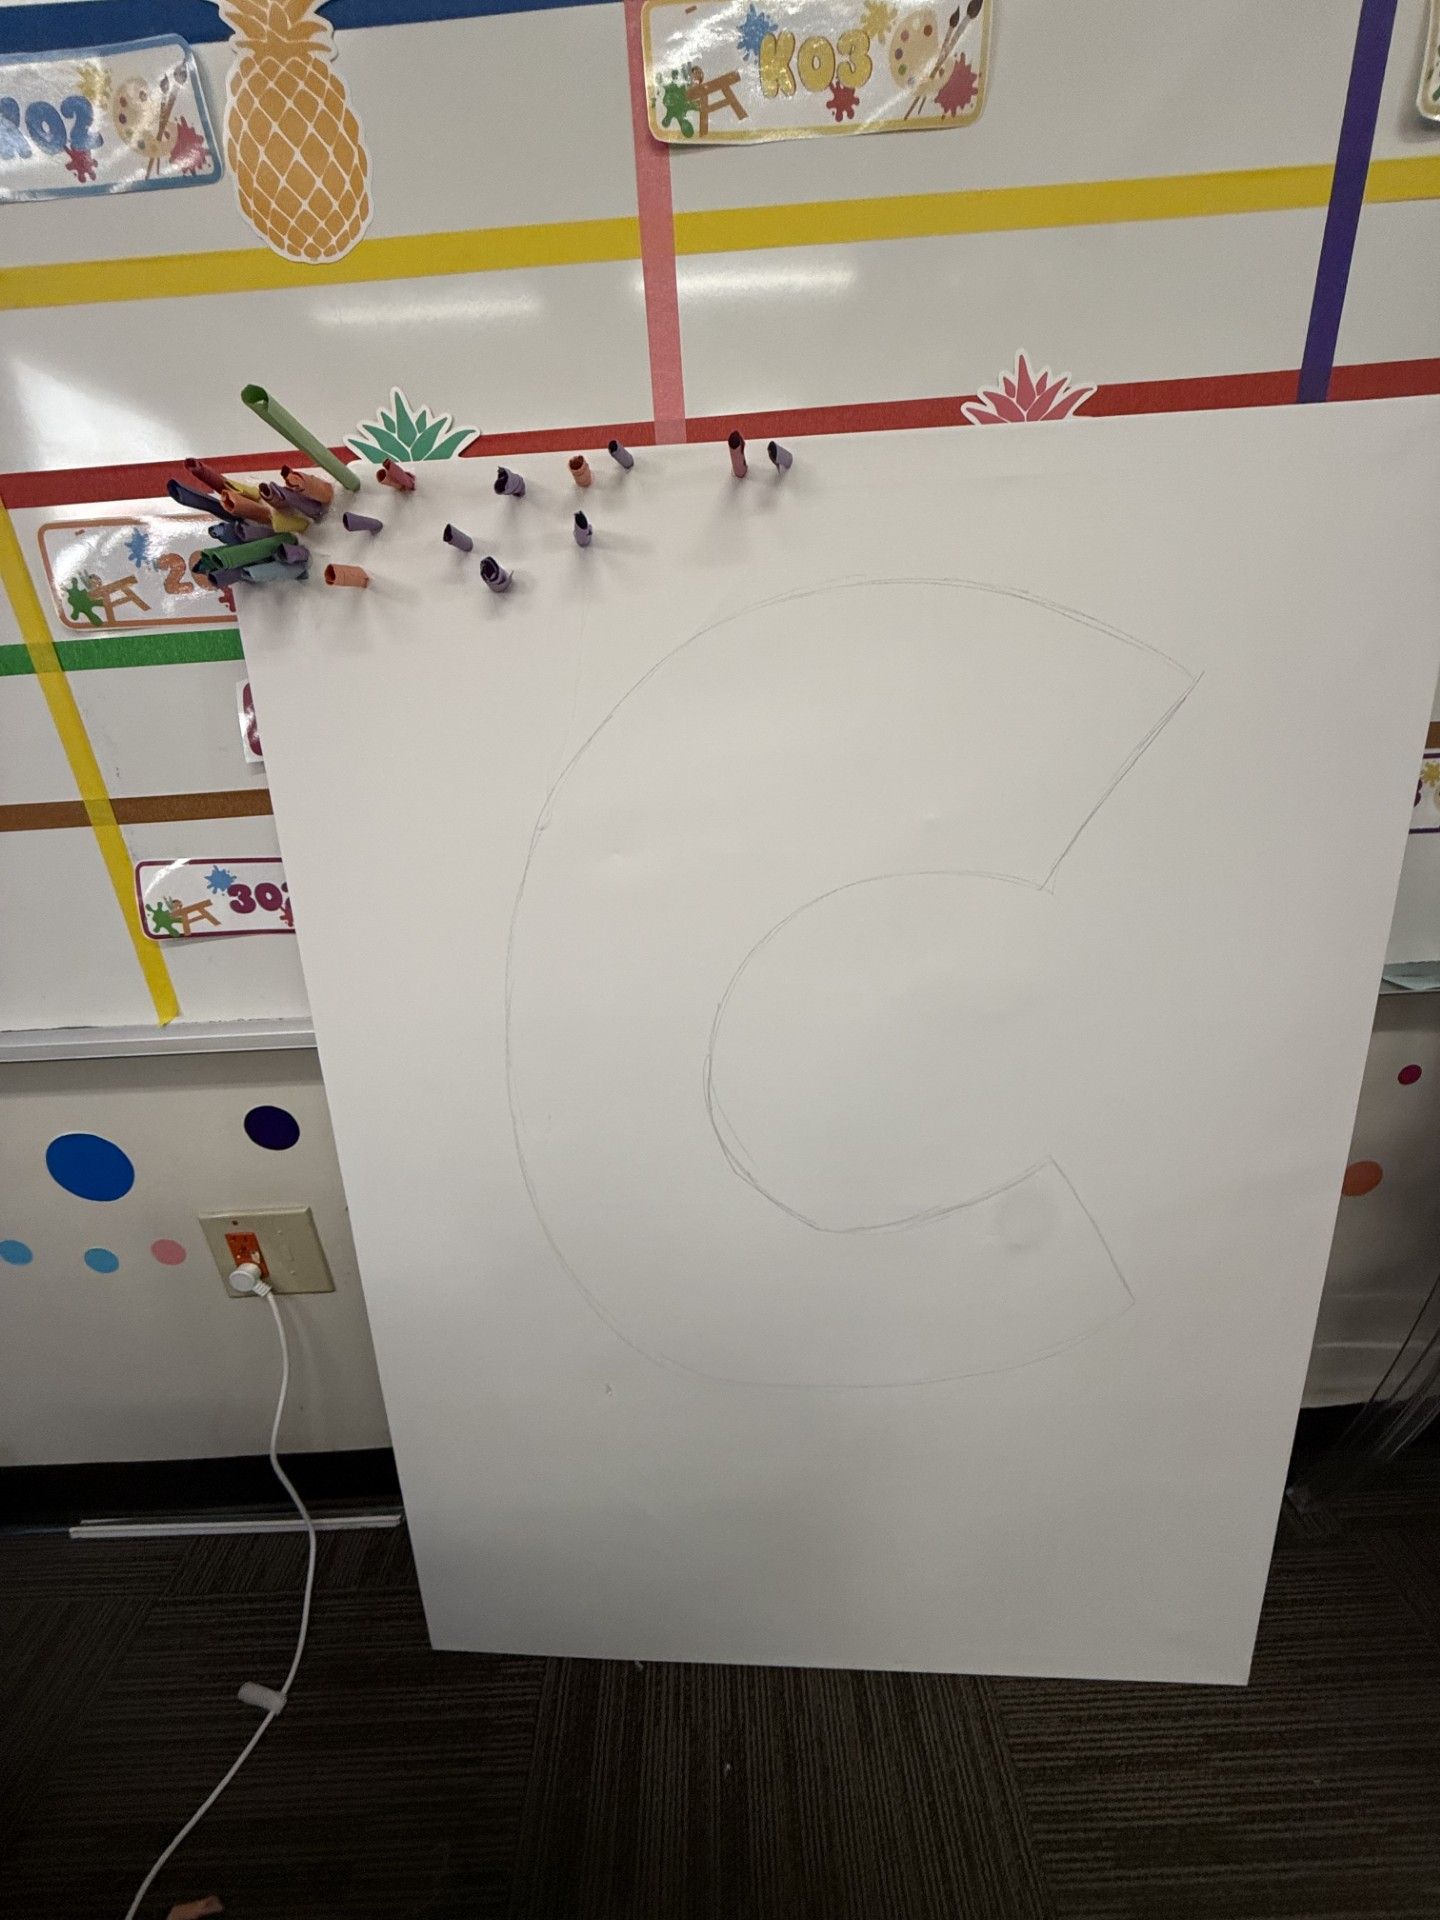
• Large canvas (36x48)
• Glue sticks (students for practice)
• Hot glue gun (teacher only, for safety)
• Worksheet (one per student)
Lesson Procedure
1. Introduction (5 minutes)
Begin with a hook: 'Imagine a whole city built from nothing but paper rolls. Today, we’re making our own skyline together.'
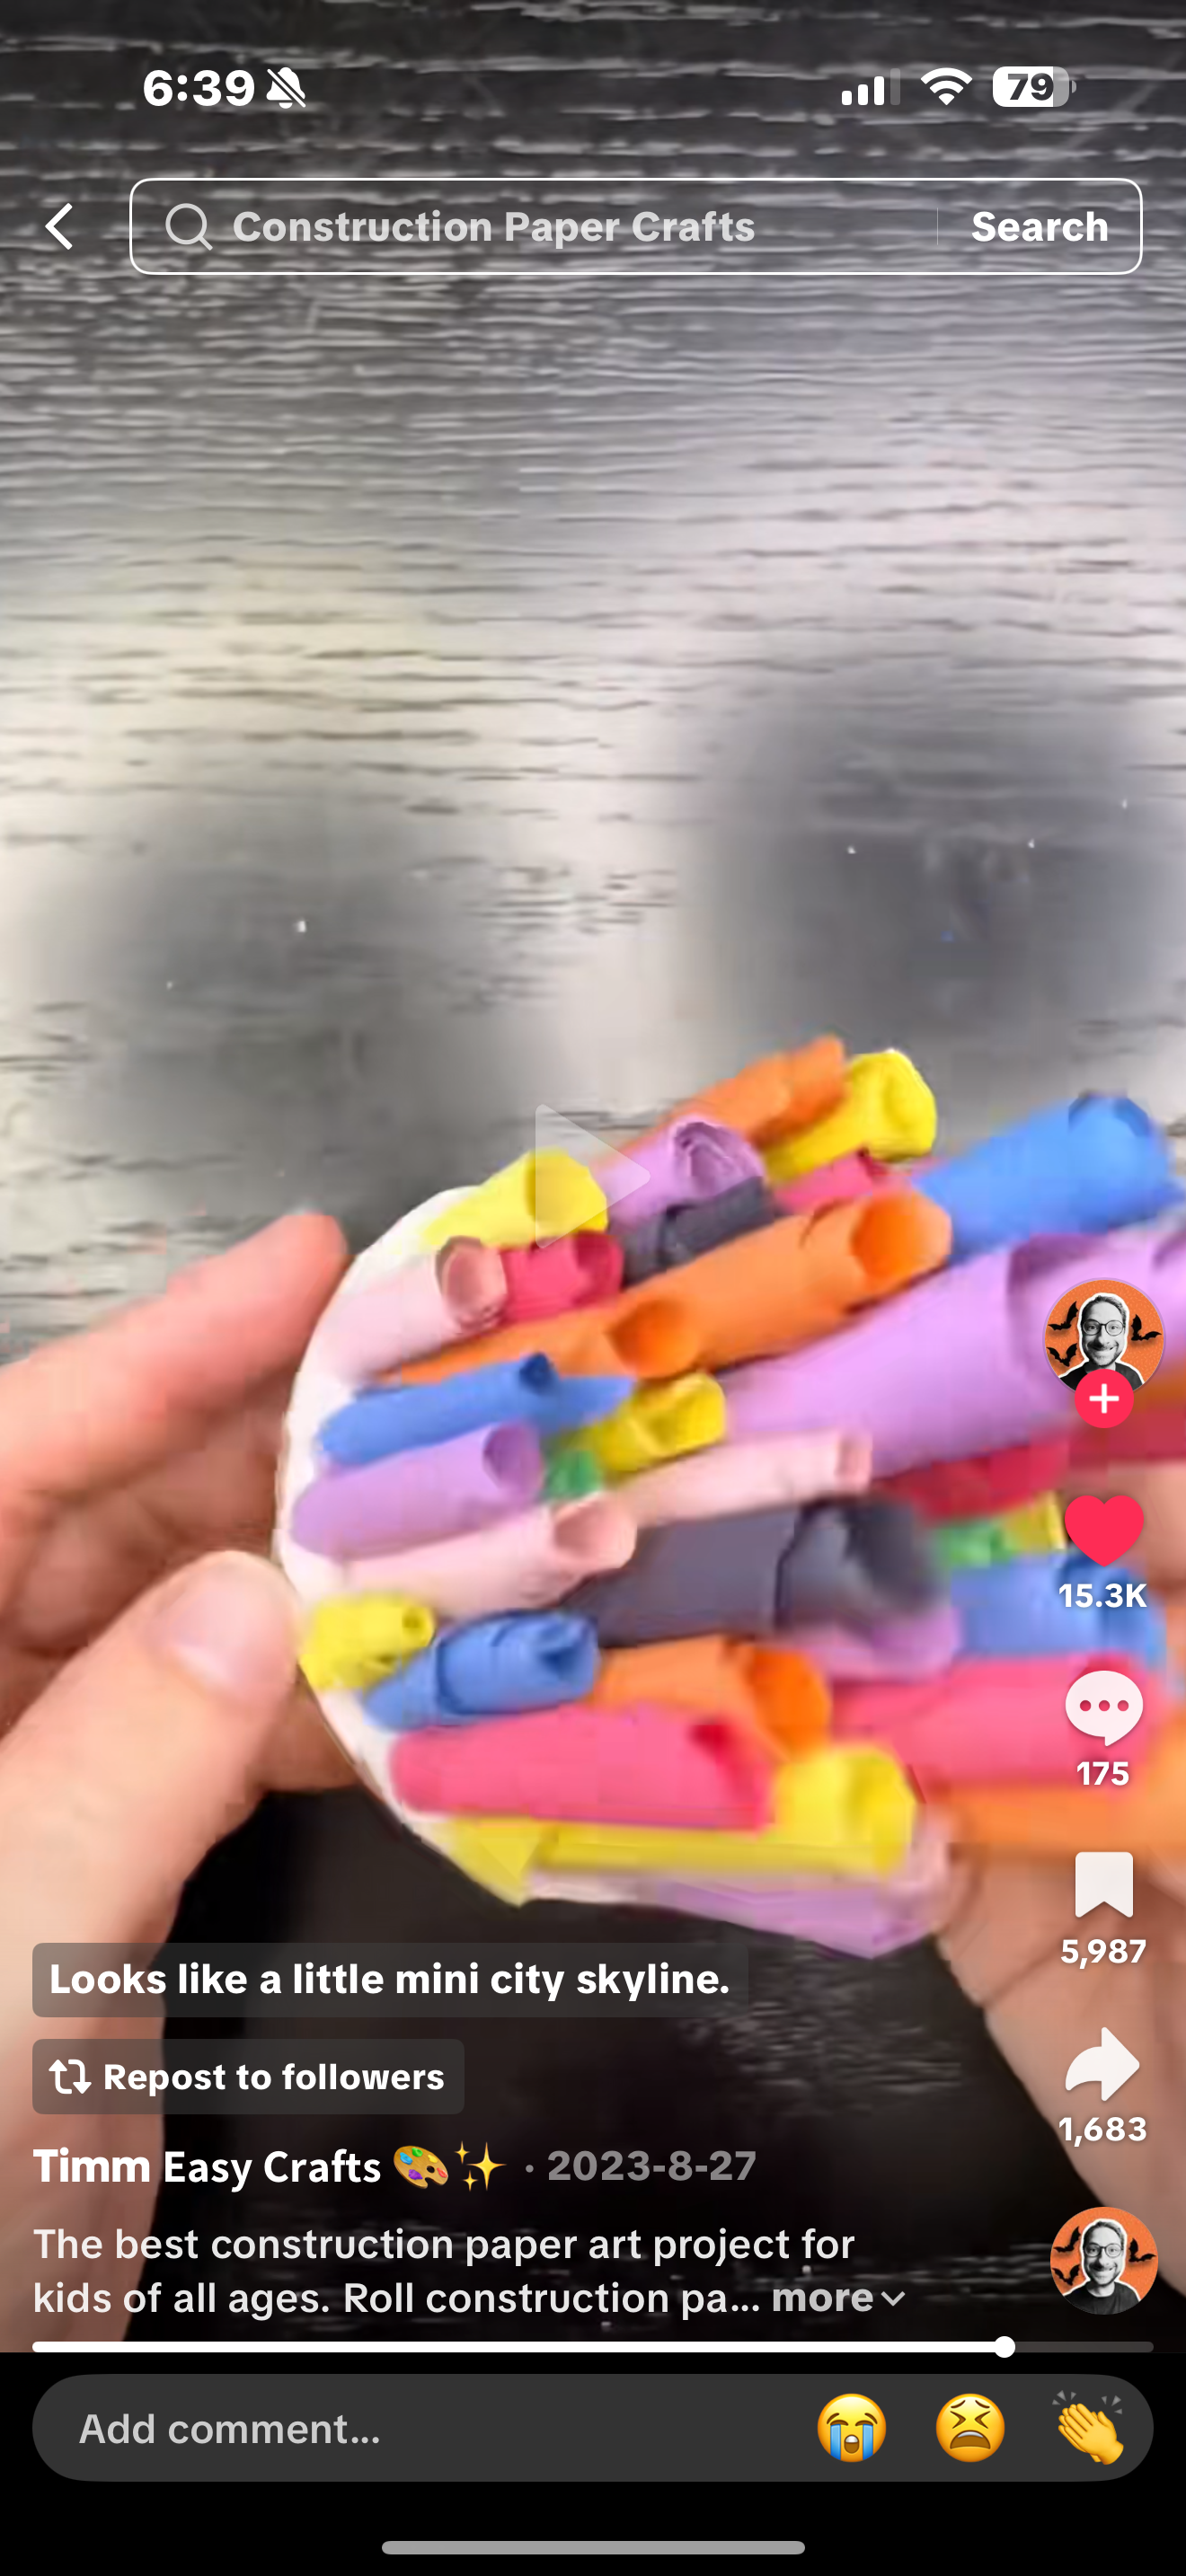
Show a quick demo/video clip of someone rolling paper strips.
Ask: 'What did you notice about how the person rolled the paper?' (Links to Planning Section of worksheet).
2. Direct Instruction (10 minutes)
• Step 1: Rip Strips – Model ripping/cutting strips of different widths. Discuss how size impacts the final roll.
• Step 2: Roll Paper – Demonstrate wrapping tightly around a pencil, then loosening slightly for variation.
• Step 3: Pass to Ms. B – Show where rolls will go on the canvas. Explain safety: 'Only I will hot glue your rolls.'
Emphasize: Every roll contributes to the city skyline mural.
3. Guided Practice (15–20 minutes)
Students rip strips, roll paper, and hand them to teacher.
As they work, circulate and prompt with questions from worksheet:
- 'How did you decide your color?'
- 'Why did you roll tight or loose?'
Collect finished rolls and begin gluing onto the canvas in real time so students see the skyline take shape.
4. Critical Thinking Discussion (5–7 minutes)
Use worksheet Section 3 to guide reflection:
- 'How does this project show the element of Form?'
- 'How is this mural different from the 2D drawings we did last week?'
- 'What does teamwork add that working alone wouldn’t?'
5. Closing/Exit Ticket (5 minutes)
Students complete worksheet Section 4:
- One word describing their roll.
- One improvement they’d make if repeating the project.
Share a few aloud for closure.
Assessment
• Formative: Teacher observation of student engagement during rolling/gluing process.
• Summative: Completed worksheet responses (planning, reflection, critical thinking, exit ticket).
Differentiation
• Grades 3–5: Focus on basic rolling and color choices. Provide extra teacher/peer support for fine motor skills.
• Grades 6–8: Encourage experimentation with roll sizes, patterns, and placement suggestions for the mural. Challenge them to connect their work to prior lessons on 2D vs. 3D.
Reflection
This lesson emphasizes hands-on making, critical thinking, and collaboration. The final product—a collective 3D skyline mural—showcases how individual contributions form a unified class artwork.